How to Fix a Running Toilet
Fix a running toilet by checking the flapper, the float, and the fill valve, in that order, with no special tools.

You will end up with a tank that fills and then goes quiet, and you need no special tools. Work through the steps in order and stop when the noise stops. They start with the flapper, which the EPA names as the cause of most toilet leaks.
The usual causes are three parts inside the tank: the flapper, the float, and the fill valve. All of them are cheap, easy to find at any hardware store, and straightforward to replace.
The EPA says household leaks can waste 180 gallons a week and that toilets are often the culprit.
You will need a pair of rubber gloves if you are squeamish about reaching into the tank (the water is clean, but we get it). A sponge or old towel helps mop up any small spills. A replacement flapper, or a universal fill valve kit if step 5 comes to that. Both are inexpensive and sold at any hardware store. An adjustable wrench for the fill valve's supply line.
Open the tank and turn off the water
Tank lids are heavy ceramic and crack easily if they hit tile, so lift the lid straight up and set it somewhere safe on a towel. Before you turn anything off, put a few drops of food coloring into the full tank and wait 10 minutes without flushing, which is the EPA's own test for a leaking flapper. Then find the shut-off valve behind the toilet near the floor. Turn it clockwise until it stops, and flush the toilet once to drain most of the water from the tank. Look inside the tank. You will see a rubber flapper at the bottom connected to a chain, a tall tube in the center called the overflow tube, and a fill valve assembly on the left side.
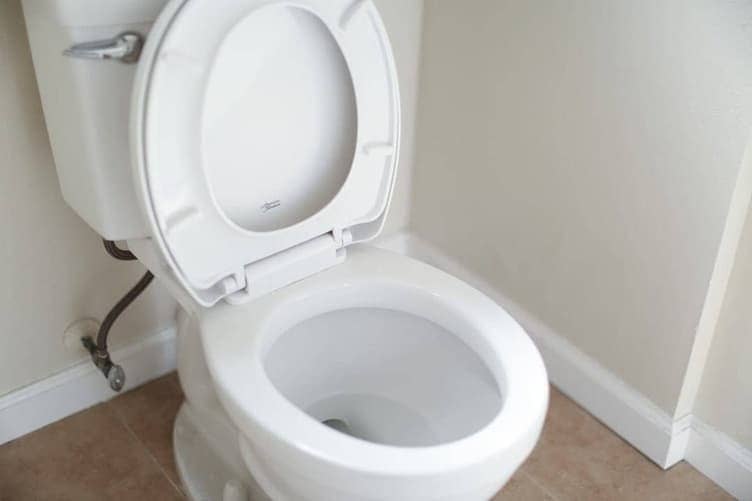
Check the flapper for wear
The flapper is the round rubber piece that covers the drain hole at the bottom of the tank. Reach in and feel it. If it is warped, cracked, slimy, or does not feel smooth, it is not sealing properly and water is leaking into the bowl. The EPA page linked in the intro puts most toilet leaks down to an old or worn-out flapper, which is why this is the first thing to check. Unhook the flapper from the pegs on either side of the overflow tube, disconnect the chain from the flush lever, and bring it to the hardware store to match the size.
Good to know: If the dye test in step 1 put color in the bowl, the flapper is leaking. That confirms you have found the right problem before buying parts.
Install a new flapper
Hook the new flapper onto the same pegs on the overflow tube. Reconnect the chain to the flush lever arm, leaving about half an inch of slack. Too much slack and the flapper will not lift fully when you flush. Too little slack and it will not sit flat to seal. Turn the water back on and let the tank fill. Flush once and watch the flapper close. If it seals flat and the water stops running, you are done.
Adjust the float if the water level is wrong
If the flapper is fine, check the water level next. Look at the overflow tube. There is usually a line or marking showing the correct water level, typically about an inch below the top of the overflow tube. If water is flowing into the overflow tube, the float is set too high. On a ball float, bend the metal arm down slightly. On a cylinder float, squeeze the clip and slide the float down the rod about half an inch. Flush and check the new water level.
Heads up: If water is actively flowing over the top of the overflow tube, the float adjustment is your fix. Constant overflow into the tube keeps the fill valve running endlessly, so water goes down the drain around the clock.
Replace the fill valve if adjustments do not help
If the flapper is good and the float is adjusted correctly but the toilet still runs, the fill valve itself is worn out. Turn off the water and flush to empty the tank. Use a sponge to remove remaining water. Disconnect the water supply line from below the tank. Unscrew the lock nut holding the fill valve in place. Pull out the old valve and install the new one following the kit directions. Universal fill valve kits are made to fit standard toilets, and the package lists the tank heights each one fits. Reconnect the supply line, turn the water on, and check for leaks.
Test everything and clean up
Let the tank fill completely. Flush two or three times and listen. You should hear the tank fill and then stop completely with no hissing, trickling, or phantom refilling sounds. Put the tank lid back on. Make sure the shut-off valve is fully open. Wipe up any water on the floor.
If the tank still runs after all three fixes, look for a crack in the overflow tube or in the tank itself, and call a plumber for either one. Once it is quiet, put a reminder in your calendar, because the EPA says to check the flapper periodically and replace it at least every 5 years. Dealing with a clog instead of a running toilet? We have a separate guide on how to unclog a toilet that covers every method from plunging to using a toilet auger.
Questions we get asked about this
Answers from experience, not a textbook.
This is called phantom flushing, and the usual cause is a flapper leaking slowly. Water seeps from the tank into the bowl until the level drops enough to trigger the fill valve. The fill valve runs for a few seconds to top off the tank, and the cycle repeats. Replace the flapper and the phantom flushing will stop.
Enough to show up on the bill. The EPA reckons the average household's leaks waste more than 9,300 gallons a year, and that 9 percent of homes have leaks running at 50 gallons a day or more. A toilet that never stops is squarely in that group. What it costs you depends on your local water rate, which varies several times over between utilities, so take the rate off your own bill and multiply rather than trusting a national average. The part costs a few dollars either way, which is why this is a job worth doing the week you notice it.
Universal flappers work for most standard toilets. They come in 2-inch and 3-inch sizes. Some newer toilets, especially dual-flush models, use proprietary flappers. If a universal one does not fit, check the toilet manufacturer's website for the correct part number.
Yes. The water in the tank is the same clean water that comes out of your faucets. It has not contacted the bowl. It is fine to reach in without gloves, unless you use an in-tank cleaning tablet, in which case wear them. Just wash your hands afterward.
Some older homes have the shut-off valve behind an access panel or inside the wall. If you truly cannot find one, you can shut off the main water supply to the house temporarily. Turn on a faucet elsewhere in the house to confirm the water is off before working on the toilet. Aim to add a dedicated shut-off valve later for convenience.
Home Maintenance 101
How to Clean a Microwave
How to Fix a Running Toilet
← you’re hereHow to Unclog a Drain
How to Paint a Room
How to Clean an Oven
How to Hang a Picture
How to Unclog a Toilet
How to Remove a Stripped Screw
How to Remove Rust from Metal