Clipping your cat’s nails is an important aspect of their grooming routine. Regular nail trims not only help keep your cat’s claws in good condition but also prevent scratches and damage to furniture and household items. If you’re unsure about how to trim your cat’s nails safely and efficiently, this step-by-step guide will walk you through the process.
Step 1: Gather the Necessary Supplies
Before you begin, ensure you have the following supplies ready:
- Cat nail clippers or a specialized cat nail trimmer
- Styptic powder or cornstarch (for potential bleeding)
- Treats or rewards to reinforce positive behavior
Step 2: Familiarize Your Cat with the Process
Introduce your cat to the nail trimming process gradually. Get them comfortable with the clippers by letting them sniff and investigate the tool. Offer treats and positive reinforcement to create a positive association.
Step 3: Choose the Right Time and Place
Select a quiet and calm environment for the nail trimming session. Choose a time when your cat is relaxed, such as after a meal or a play session. Make sure you have good lighting to see the nails clearly.
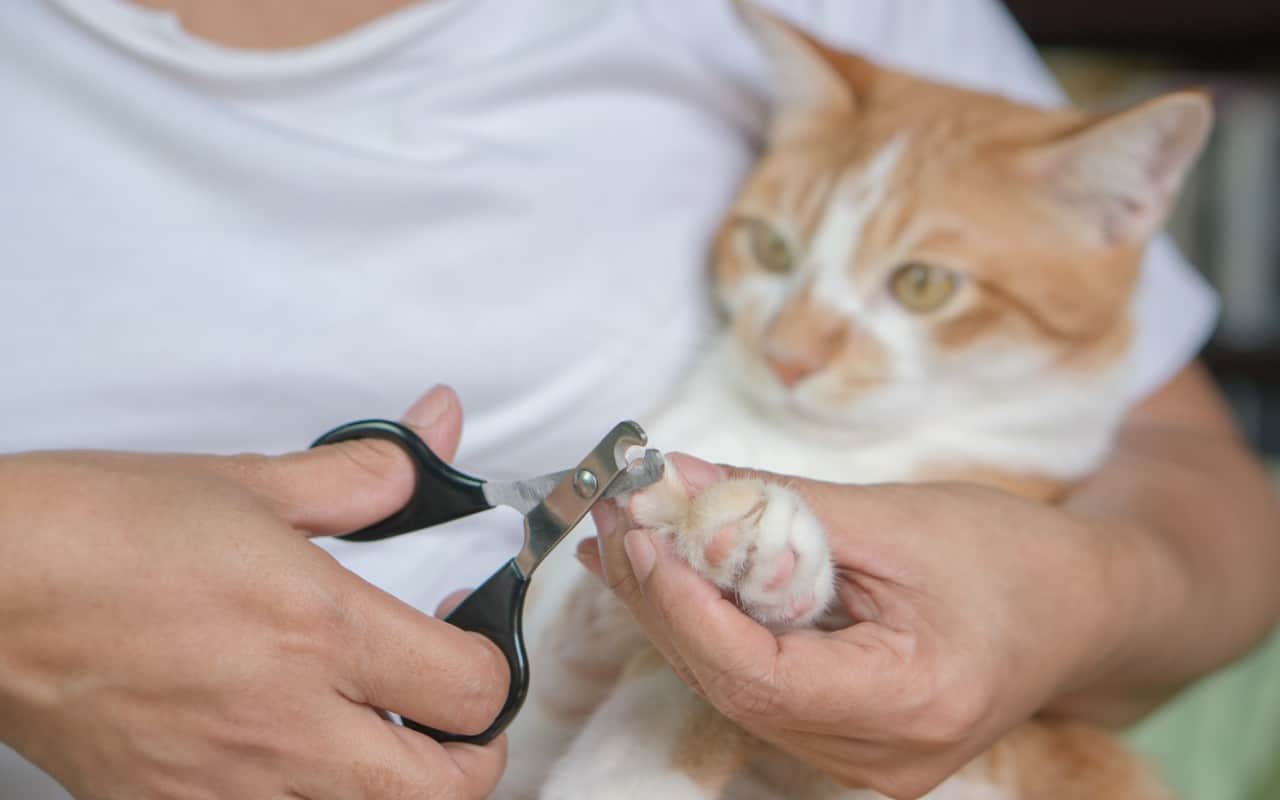
Step 4: Find the Right Position
Gently hold your cat’s paw in your hand. Apply gentle pressure to extend the claws. Be patient and avoid rushing the process to keep your cat calm and cooperative. Talk to your cat in a soothing voice to provide reassurance.
Step 5: Identify the Quick and Trim the Excess
Look for the translucent area within the nail, known as the quick. It’s important to avoid cutting into the quick, as it can cause bleeding and discomfort. Trim only the sharp, curved tip of each nail, keeping a safe distance from the quick. Start with small trims and observe the nail coloration to help guide you.
Step 6: Use Caution and Monitor Signs of Discomfort
Exercise caution while trimming and be prepared to stop if your cat shows signs of distress or discomfort. If you accidentally cut into the quick and bleeding occurs, apply styptic powder or cornstarch to the affected nail to help stop the bleeding.
Step 7: Reward and Praise Your Cat
After each successful nail trim, offer treats and praise to positively reinforce the experience. This helps your cat associate the process with positive outcomes and reduces their anxiety for future sessions.
Step 8: Gradually Increase Trimming Frequency
As you and your cat become more comfortable with nail trims, aim for regular trimming sessions. Depending on your cat’s nail growth, this may range from every few weeks to once a month. Trimming more frequently can help prevent the nails from becoming overly long or sharp.
Remember, if you’re unsure or uncomfortable with trimming your cat’s nails, consult with a professional groomer or your veterinarian for guidance. They can demonstrate the process and provide additional tips based on your cat’s specific needs.
Regular nail trims are essential for your cat’s comfort and well-being. By following these steps and providing a positive and gentle approach, you can maintain your cat’s nail health while fostering a bond of trust and care.